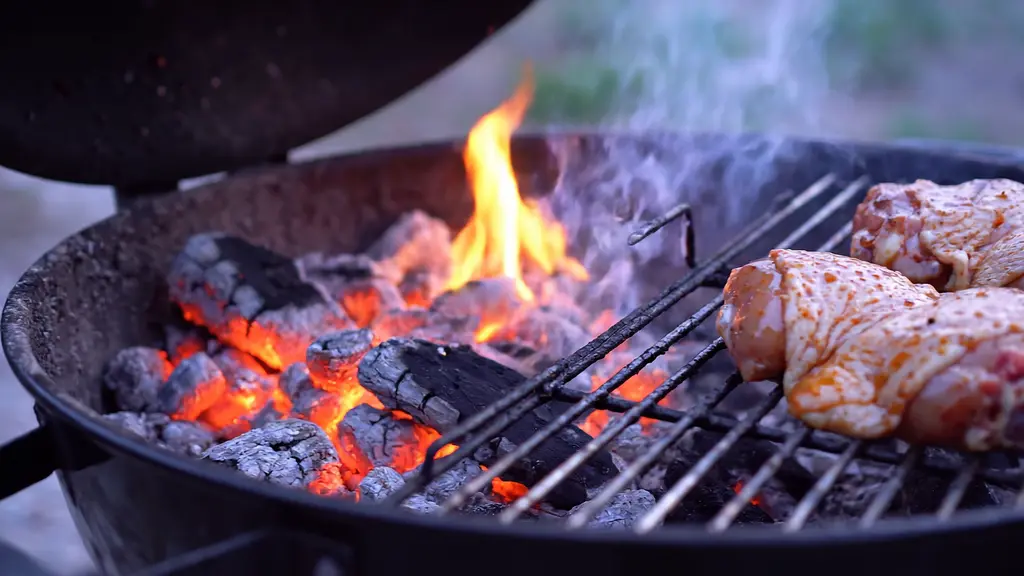
Burned chicken skin with undercooked meat near the bone? Steaks that look perfect outside but are still cold in the center? The fix often starts before the food touches the grate: build two heat zones.
Two-zone grilling gives you a direct side for browning and a cooler, indirect side for cooking through. It also gives you somewhere to move food when flare-ups threaten dinner. The exact temperature of each area depends on your grill, fuel, weather, and vent settings—not on a universal number printed in a recipe.
Direct heat versus indirect heat
- Direct heat: Food sits over lit burners or hot coals. Use it for fast searing, thin cuts, and browning at the end of a cook.
- Indirect heat: No burner or charcoal sits directly below the food. Heat circulates under a closed lid. Use it for thick steaks, bone-in chicken, roasts, and a gentler first stage before searing.
You still need a grate-level thermometer. A hood thermometer measures air at a different location and may not reflect the temperature around the food.
Set up a charcoal kettle
- Open the appropriate vents and light charcoal in a chimney starter outdoors, following its instructions.
- Pour the lit coals onto one side of the charcoal grate or into charcoal baskets, leaving the other side clear. Wear appropriate heat protection.
- Install the cooking grate. Position the lid vent over the indirect side when the grill design permits, then close the lid.
- Let the temperature stabilize. Make small intake-vent adjustments, allowing several minutes between changes. Avoid choking the fire so much that it produces heavy, dirty smoke.

Tip: A small drip pan on the indirect side can catch grease, reduce cleanup, and help prevent flare-ups. Don’t let it obstruct airflow.
Set up a gas grill
- Open the lid before lighting. Follow the manufacturer’s ignition instructions.
- Preheat, then leave one or more burners on and turn the burner(s) under the indirect zone off. On a three-burner grill, the middle burner can often be turned off while an outer burner supplies heat; experiment with your model.
- Close the lid and check the temperature near the food. Adjust lit burners until the indirect side holds the heat your recipe requires.
- Keep the direct side available for finishing, but never leave the grill unattended.
Which foods go where?
| Food | Best approach | Finish target |
|---|---|---|
| Thin steak, under 1 in. | Direct heat with frequent checks | For USDA guidance, 145°F and a 3-minute rest |
| Steak 1½–2 in. thick | Indirect heat, then a brief high-heat sear | 145°F and a 3-minute rest |
| Bone-in chicken | Indirect first; finish over direct heat only if needed | 165°F |
| Burgers | Direct heat; move indirect when flare-ups occur | 160°F for ground beef |
| Thick pork chops | Start indirect, sear to finish | 145°F and a 3-minute rest |
| Vegetables | Direct to char; indirect to soften large pieces | Tender to preference |
For thick steaks, the reverse sear is the two-zone method in full. For burgers and chicken, see direct heat grilling and food safety limits.
Three habits that make it work
- Use two temperature readings. A pit/grate probe tells you what the cooking zone is doing; a meat probe tells you what the food is doing.
- Move food before it burns. A brief flare-up is a cue to shift food away, not to spray water into hot grease. A sustained grease fire calls for the grill manufacturer’s emergency procedures; if the fire is unsafe to control, get clear and call 911.
- Think of the lid as a heat control. Keep it closed during most indirect cooking, but open it when a step calls for turning or checking food. Always open a gas-grill lid before ignition.
Bottom line: Two zones make one grill act like both a skillet and an oven. Master that setup before buying specialty accessories.